
The “User Management” menu item lets you manage account members: invite new users, assign and change roles and permissions, and remove users. This section explains how to perform each task.
I. Inviting a new user
You can delegate full or partial control of your account to another person. The account owner sends an invitation, and the invited user accepts it. To send an invitation, all you need is the email address of the person you want to invite. Below is the sequence of actions for both parties.
Actions for the account owner (initiator)
- Click “Invite New User”.
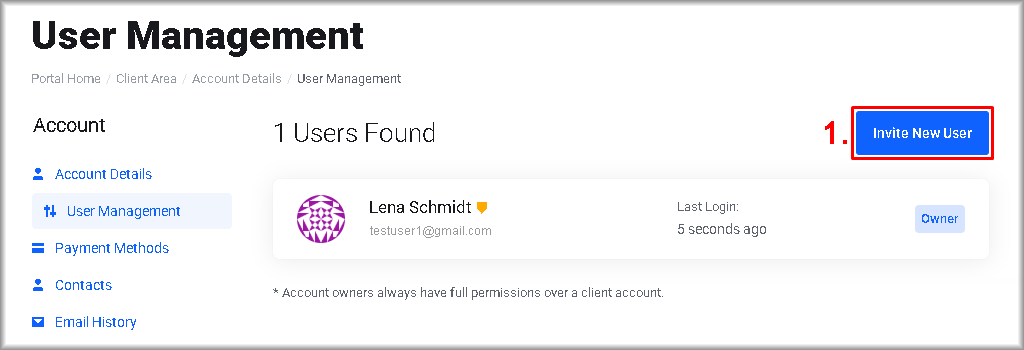
The “Invite New User” window will open.
- Enter the email address of the user you want to invite.
- Choose the permissions to grant: “All Permissions” or “Choose Permissions”.
- If you selected “All Permissions”, go to step 5. If you selected “Choose Permissions”, tick the boxes next to the permissions you want to grant.
- Click “Send Invite”.

An invitation to manage the account will be sent to the email address you provided. A “Invite sent successfully!” message confirms the send. On the “User Management” page, an entry appears in “Pending Invites”. The invite must be accepted within 7 days; after that it is withdrawn automatically.
Further steps to accept the invitation are performed by the invited user.
After acceptance, the “Users Found” table will show a value in the “Last Login” column next to the email address to which the invitation was sent. This confirms that the user accepted the invitation and successfully signed in as a member of the initiator’s account.
Actions for the invited user
- Open your email and, in the invitation from SMCloud <[email protected]>, follow the “Accept Invitation” link.

You will be redirected to cloud.servermall.com. - Click “Accept Invite” to confirm acceptance.

- To finish, sign in to your Servermall Cloud account:
- If you do not have a Servermall Cloud account:
Click “Register” and complete the form:- Follow the “Terms of Service” link and read the terms and any appendices. If you disagree with any provision, stop the registration and leave the site.
- Enter your actual details in “First Name” and “Last Name”.
- Create and enter a password in “Password”, or click “Generate Password”.
- Tick “I have read and agree to the Terms of Service”.
- Click “Register”.
- Continue creating your account by following the “Creating an Account” guide from Section III.

- If you do not have a Servermall Cloud account:
- If you already have a Servermall Cloud account:
Before clicking “Login”, in a separate tab of the same browser where the “You have been invited to…” window is open, sign in to the Servermall Cloud Control Panel. Follow:- “Signing in to the Control Panel” – if 2FA is not enabled.
- “Signing in to the Control Panel Using 2FA” – if 2FA is enabled.
.

II. Changing user permissions
The account owner can change the permissions granted to invited users at any time. To change permissions:
- Click the “pencil” icon in the row of the user whose permissions you want to change.
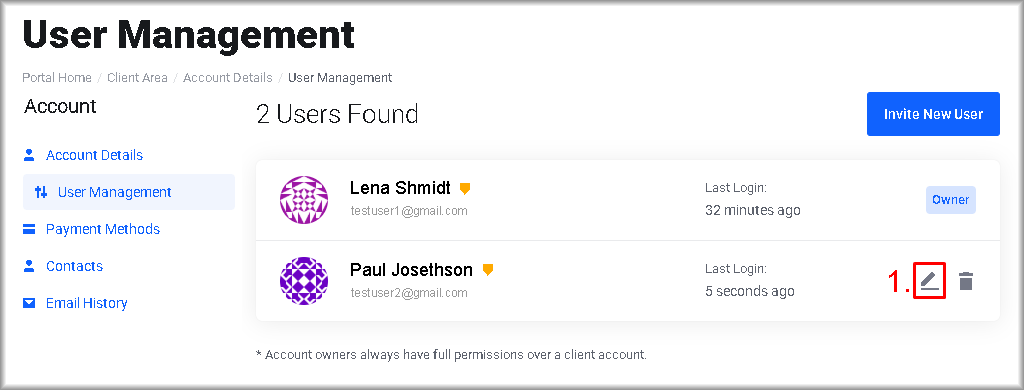
You will be redirected to the “Permissions“ page. - Adjust the permissions: tick the boxes next to the permissions to grant, and untick the boxes next to the permissions to revoke.
- Click “Save Settings”.

The user’s permissions will be updated and you will return to the “User Management” page.
III. Removing a user’s access to the account
To revoke a user’s access to your account:
- Click the “bin” icon in the row of the user whose access you want to revoke.

The “Remove Access” window will open. - In the window, confirm your intention by clicking “Confirm”.

The user will no longer be able to manage your account or view its data; their personal Servermall Cloud account remains.